Error has occurred!
- KB569
- Aug 08, 2024 04:42 PM
How Do I Create Custom Timestamp Server Templates?
Please follow the steps below to create a custom timestamp server template:
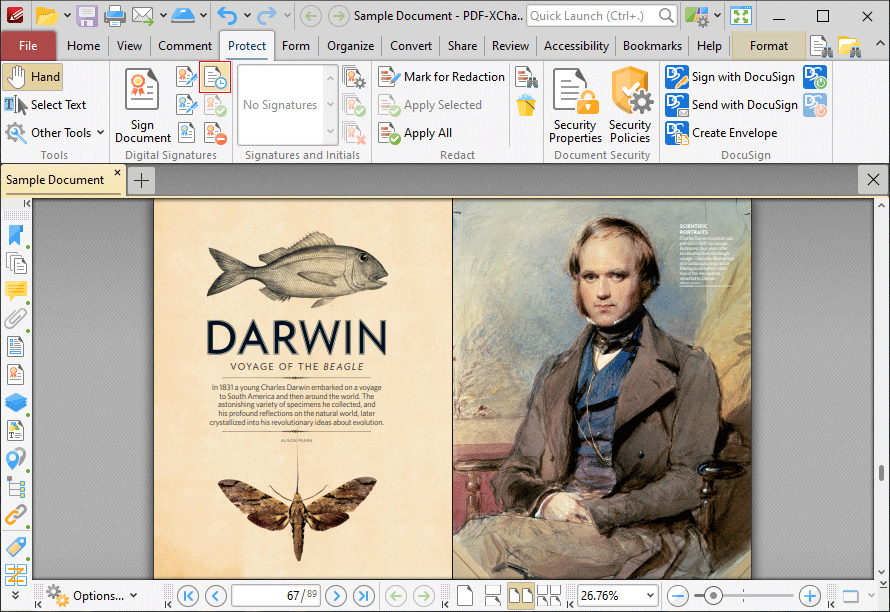
1. Open PDF-XChange Editor, click the Protect tab and then click Timestamp:
The TimeStamp Server dialog box will open:
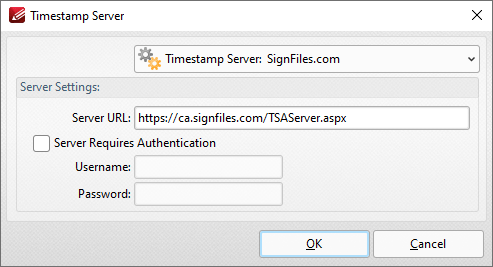
2. Enter the URL of the timestamp server in the Server URL box, and specify the authentication options as desired.
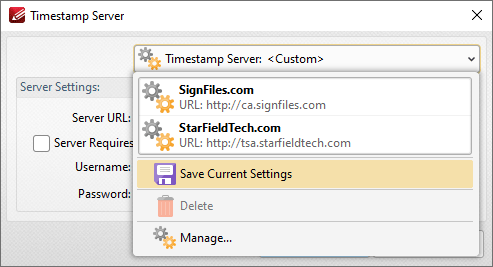
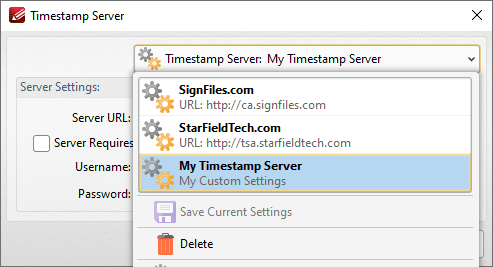
3. Click the dropdown menu, then click Save Current Settings:
The New Settings dialog box will open:
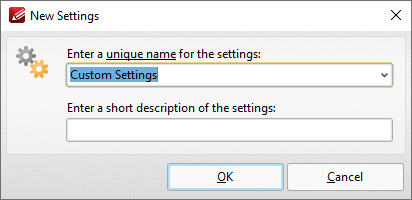
4. Enter the desired name and description for the new timestamp server, then click OK.
The new timestamp server template will then be detailed in the list of timestamp servers and can be selected for use as desired:
More Like This
- KB#456: How Do I Customize toolbars in PDF-XChange Editor?
- KB#282: Why won't the "Email Document" feature work in conjunction with Microsoft Outlook?
- KB#338: What are the MSI installation switch options for the PDF-XChange family of products?
- KB#447: How do I determine what version I should install/how can I retrieve my serial key?
- KB#139: How do I set the default style of annotations in PDF-XChange?